Firmware
Formatting your SD card to FAT32 is an important step to ensure compatibility with your Miyoo device. Please follow the instructions below carefully.
How to Format an SD Card to FAT32
Important Notes Before You Start
- Formatting will erase all data on the SD card. Please back up any important files before proceeding.
- Use a reliable SD card (recommended: branded cards such as SanDisk, Samsung, etc.)
- Make sure your SD card is properly connected to your computer
Step 1: Connect the SD Card
Insert the SD card into a card reader, then plug the card reader into your computer’s USB port.
Step 2: Locate the SD Card
- Open “This PC”
- Find your SD card under “Devices and drives”
Step 3: Start Formatting
- Right-click on the SD card
- Select “Format”
Step 4: Choose File System
- Set File System to FAT32
- Leave other settings as default
Step 5: Format the Card
- Click “Start”
- Wait until the process is complete
⚠️ If FAT32 Is Not Available
If your SD card is larger than 32GB, Windows may not show FAT32 as an option.
In this case, you can use a third-party tool to format your SD card.
Step 1: Connect the SD Card
Insert the SD card into a card reader and connect it to your Mac.
Step 2: Open Disk Utility
- Go to Applications → Utilities → Disk Utility
Step 3: Select the SD Card
- Choose your SD card from the left panel
Step 4: Erase and Format
- Click “Erase”
- Set:
Format: MS-DOS (FAT)
Scheme: Master Boot Record (MBR)
Step 5: Confirm
- Click “Erase” and wait for completion
The official firmware list includes two types of packages: an .img file for upgrading, and a full system file package containing the complete OS. Download whichever suits your needs. For third-party firmware, please refer to the respective project's page for installation instructions.
Before you begin, make sure your SD card is formatted as FAT32.
- If you downloaded the full system file package:
Extract the archive and copy all the files to the root of your SD card. If files already exist on the card, you can copy and overwrite them. Then, with the device powered off, insert the SD card and power it on. - If you downloaded the .img file:
Please refer to the firmware upgrade method below.
Standard Update Method
- Copy the .img firmware file to the root directory of your SD card (do not place it inside any folder).
- Ensure the device is completely powered off.
- Insert the SD card containing the firmware file into the device.
- Connect the device to a USB charging cable, then press and hold the Power button.
- When the Rocket Logo appears, it means the firmware update has started.
⚠️ Do not disconnect the charging cable during the update process. - The update process will take approximately 5–8 minutes. Please wait until it completes.
If the Rocket Logo does not appear
If the update does not start on the first attempt:
- Turn off the device again.
- Press and hold the Menu button, then press and hold the Power button at the same time.
- Keep holding both buttons until the Rocket Logo appears.
- Once the Rocket Logo appears, the firmware update will begin automatically.
Important Notes
- Make sure the SD card contains only the correct .img firmware file in the root directory (the root directory must contain all system files).
- Do not interrupt power during the update process.
- If the update still fails after multiple attempts, please reformat the SD card and try again with a clean firmware file.

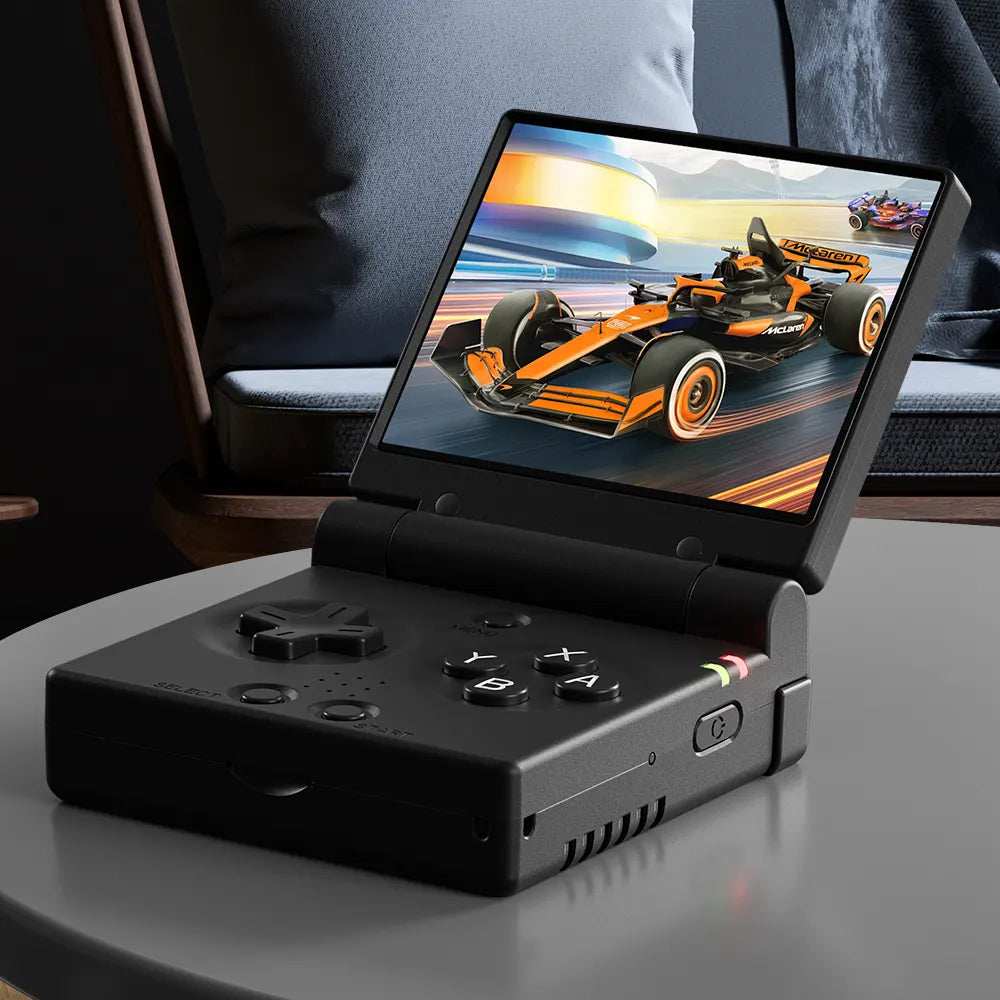
Miyoo Mini Flip
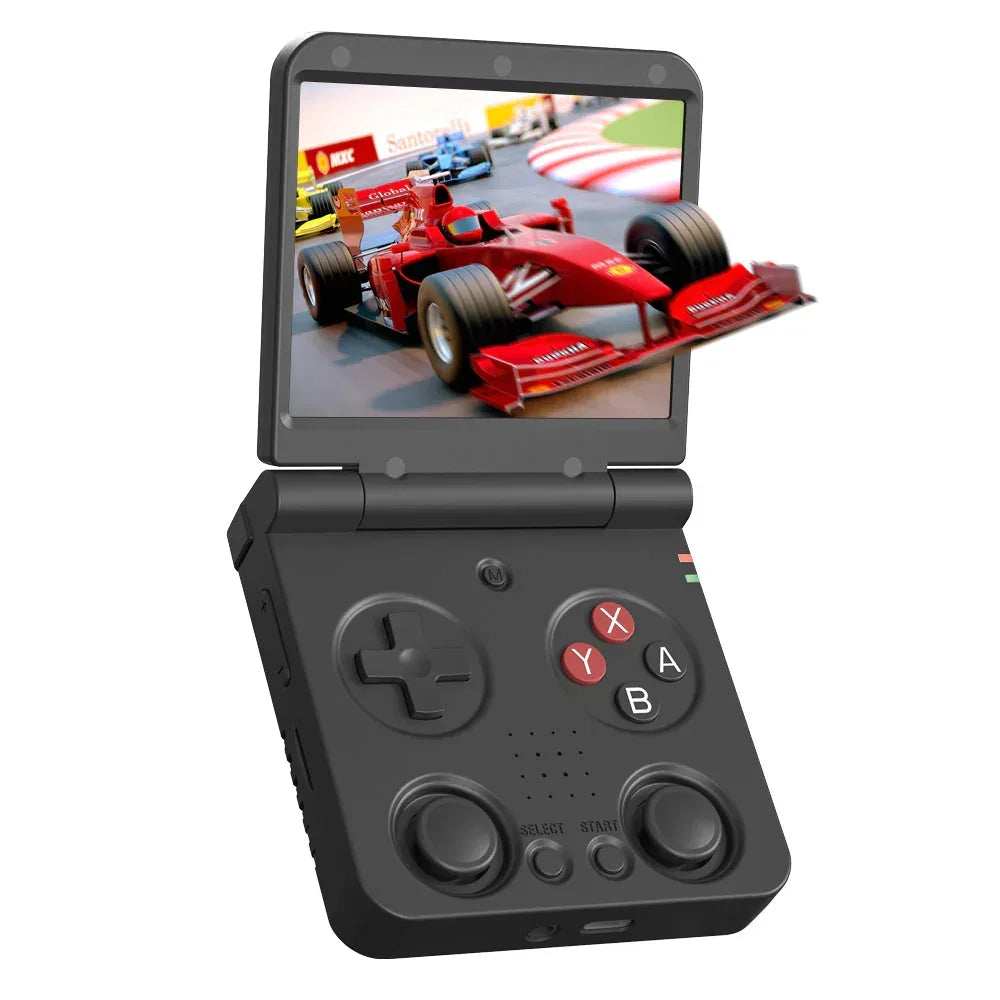
Miyoo Flip

Miyoo Mini Plus
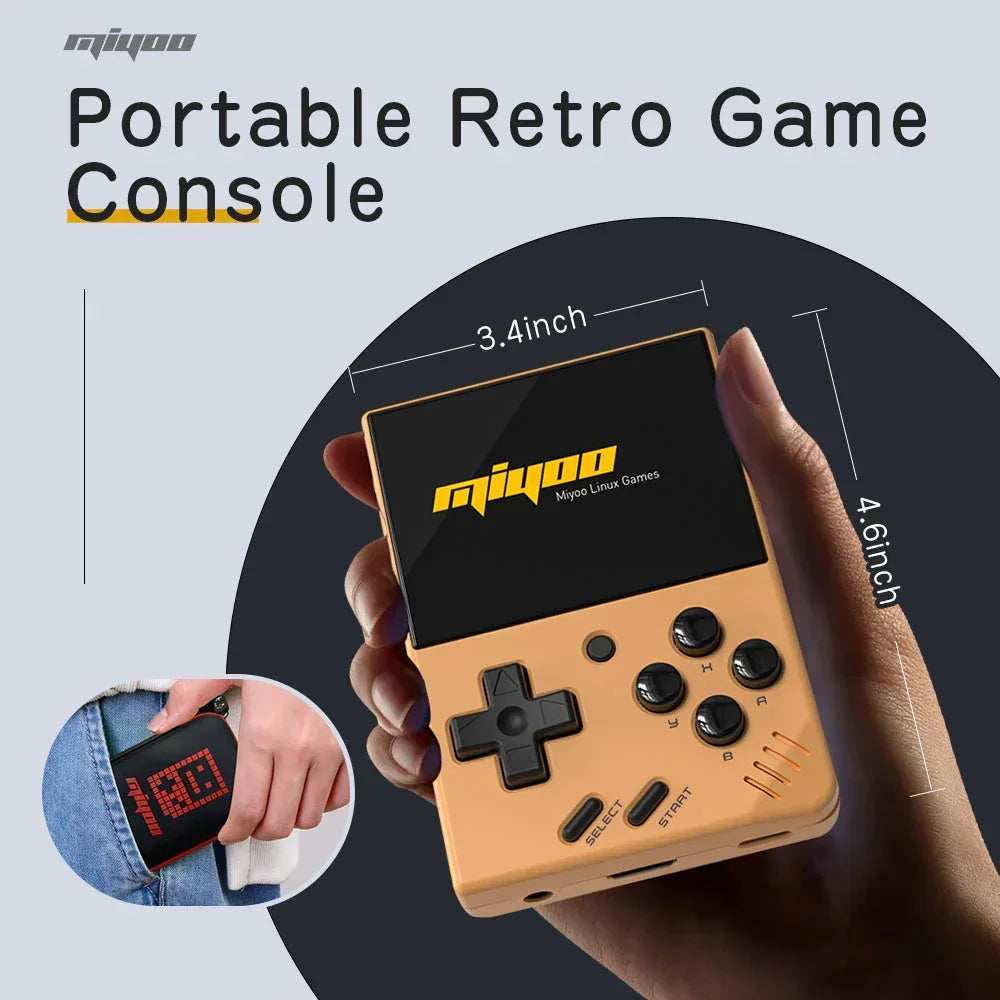
Miyoo Mini V4
